My Blog List

How to Make a Heart in Gimp


There are many free Gimp tutorials online that teach how to make a heart. I will share a couple here. But there is one step not included in the first tutorial and that is how to make a brush in Gimp.
To make a heart brush in Gimp (to make a shape like a heart that you can use by just choosing the paintbrush tool and find the heart in its toolbox), you first have to get yourself a heart dingbat. Just Google get free heart dignbat and you will find lots of places where you can download a free dignbat. You can also get some free dingbats at http://www.scrappingtable.com/dingbats.html

Open it in Gimp. Then save it as a brush by choosing Saves As; Select File by Type (By Extension), then choose Gimp Brush.
Name your brush. Then save it. It will usually save to your Desktop.
Now, you go to My Computer; Program Files; Gimp and you look for the folder that says Brushes, you open it, and then, leaving this folder open, you go to your Desktop, find the brush, and you copy and paste it into the Brush Folder.
When you fire up Gimp, it will appear in the list of brushes in your toolbox, when you choose the paintbrush and look in the brushes available in the menu below. Having this dingbat brush is crucial to be able to make the pretty 3D heart in the next tutorial, which will give you a wonderful, professionally looking result!

If you are interested in making the satin heart in the above illustration. It is simple to make. And you can make it as follows. First make your satin texture in any color you like, following our previous tutorial. Save it under a name of your choice. Then, choose File; New; Size of image of your choice (300 x 300 is nice)
Choose your dingbat brush, make your heart, click on the bucket fill tool, in the toolbox, find the satin texture and pour it into the heart with the bucket fill. Then go to Filters; Light and Shadow; Drop Shadow.
Rotate your heart if you want to. That is all it takes!


After that, you can scrap your heart. If you want to change it a bit, you can add noise so that it would look a bit "sandy", like this one:


For another neat heart with a 3D feel to it, check out this free tutorial!
How to Make a 3D Effects Heart in Gimp

..................
When You Need to Have Strength. . .


How to Make a Pretty and Easy Satin Background in Gimp


This is a short and quick tutorial on how to make a satin fabric in Gimp which you can use as a background. The steps are pretty simple and you will have a lovely fabric in the end that you can use in many ways. Let's get started.

Fire up Gimp. Click on File >New, then select the size 500 x 500 pixels. Click OK.
Go to Filters>Render>Pattern>Sinus. From Color Toolbox, choose a Foreground and Background color you like, then in Sinus, go to Colors and choose Foreground & Background, click OK. (You can choose any combination of color syou like, but make sure one is dark and the other light, of the same family of colors or something like red and white.) Now, still in Sinus, click on Blend, and choose the setting Sinusoidal, and choose Exponent 0.40. Now go back to your settings tab and choose complexity 2.45, Y scale 25.1573, Xscale 22.6416. Choose Force tiling and Distorted, and Random Seed 45. Click OK. Now Go Filters >Blur>Gaussian Blur.
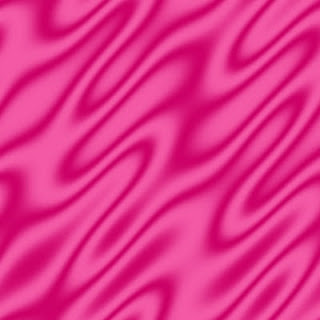
You will wind up with a fabric like the one in the photo, but having the colors of your choice. For my darker color I chose cc0066, and for my lighter color I chose f359a5, but you can choose anything you like or that will go well with the project you have in mind.
That's all you need to do for a quick satin fabric! There are other versions of this tutorial, but this is the simplest way for a beginner. You can play around with the Sinus settings to get different effects. There are also a number of embellishments you can make using this type of fabric, such as this pretty satin heart that I made.
Happy scrapping!

.............
Heaven Is It For Real?

Digi Scrapping for Your Blog

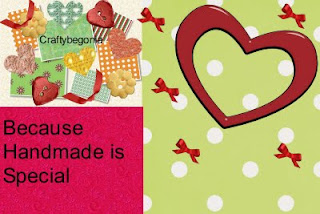
If you're a blogger and would like to spruce up your blog, or if you have a handmade store and would like to make an unforgettable statement, displaying your logo or your store's slogan, why not scrapbook it? You know that visual appeal is a big part of a visitor's enjoyment of your blog. Scrabooking can give you an easy way of enhancing your blog to make that experience happen. I will share here some examples of what I have done at my blog, showing my slogan. The examples are all different, having a different feel to them. Hope it gives you some ideas!


.............
Heaven Is It For Real?

Digi Scrapping Cute Toys---Part 3


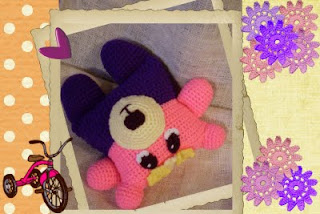
I love making toys that are bright colored, fun and cuddly. Easy to love, hold and cherish. Presenting them in an imaginative and creative way is also part of the fun, and scrapping them is the best to attain that.

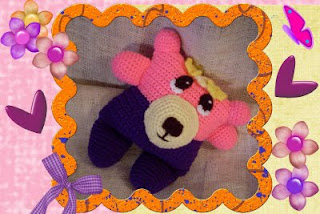
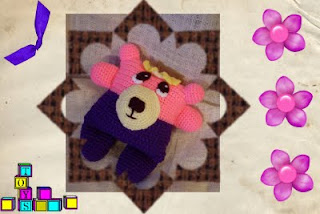
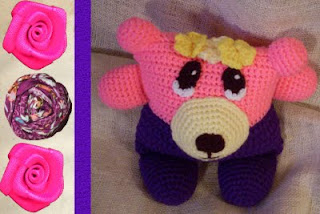
This is Pansy, one of my Flowerumi Bears. They are called Flowerumi because flowers form their hair. They are all bears and they are all little girls. They come in all colors and, well, depending on the imagination, they are also scrapped differently. I scrapped Pansy mostly following a theme dictated by her colors.


.................

The Love of God