Fire up Gimp. Go to New and select the size you want for your image. I will choose 640 x 480 for the sake of making the image
easy to load.
Choose the bucket tool and choose the following brown color for the base of your wood texture: 834C24. Now fill your image with the color.
Now go to Filters, Noise HSV Noise. When the menu opens, choose as follows: Holdness: 4, Saturation: 3, Value: 17. Click OK.
Duplicate the layer, bring the opacitiy down to 20.0 Now go to Filters, Blur, Motion Blur. When the menu opens, choose Linear, Length: 300,
Angle 90, click Ok. Now to to Filters, Enhance, Sharpen. Whent he m
 enu opens, move the Sharpness lever up to 90. Click OK.
Now to Filters, Blur, Motion Blur. Choose Linear. Length 256. Angle 90. Click Ok. Let it render.
You now have a soft wood grain against a warm and nice brown. The color is a bit dark and chocolately. If you want it a bit lighter, go to Colors,
Hue and Saturation and move the Hue lever until you get the shade of brown that you like the most.
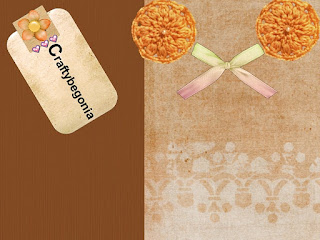
I share here a page scrapped with this paper.
No comments:
Post a Comment