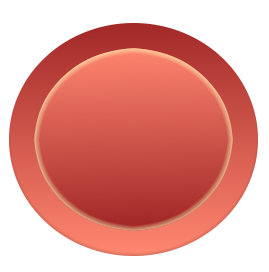
This is a pretty nice button or scrapbooking brad for a beginner. It looks really well, which will encourage you to experiment more with the wonderful software.
Open up Gimp.
Create a new image 269 x 272 pixels, background color Transparency, Resolution 96.00. For your Foreground color, choose # A22828, for your Background color, choose # FF8770.
Click on the ellipse or round select tool and from the top corner of the canvas, drag a selection down to cover almost the entire canvas.Click on the blend or gradient tool and make sure
the arrows of the gradient are such that will give you a gradient that is darker at the top than at the bottom. Gradient Shape should be Linear, Opacity should be 100%, click on Dithering and also on Adaptive Supersampling, to make the gradient smoother. Pull the mouse on a straight line across your selection to fill it with the
gradient. Go to Select Shrink. Shrink it to 15 pixels. Click OK. Now go to Script-Fu, Inner Shadow and choose the following settings: Opacity 26.0, Contour: Linear; Blending Mode: Normal.
Source: Edge. Choke: 0.0; Size 5.0; Offset Angle: -90.0;Offset Distance: 2.0. Click OK. Create a new layer and name it Center. Shrink it as before but this time by 10 pixels. Click on the arrows of the
gradient tool so that the colors will run in opposite direction as before and fill the new selection, lighter on top and darker at the bottom.
Go to Script-Fu, Inner Glow, then choose the following settings: Opacity 54.0 and leave the rest as is. Click Ok.
That's it! Simple, isn't it?
Practice and add whatever changes you like best.
Here's a sample page using this brad or button to give you ideas:

...................
Bible Universe
No comments:
Post a Comment