I love this stamp! It was fun to make. I downloaded a grungy set of brushes that was free and that made it very easy. If you want to make it with a brush, just Google grunge brushes for Gimp, and you will have quite a selection of downloadable brushes to choose from.
You download the brush, click open, and you will see a list of br files.
Go to your Computer then to Program Files, look for Gimp, then click on Share or look around until you find a folder that is called Brushes, open it.
Then go back to your list of brushes, click on each and copy it and then go paste them in the Brushes folder. Once you have all the brushes you want.
Close everything and fire up the Gimp.
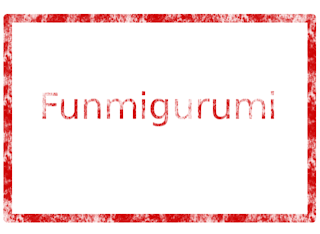
Choose new image, pick the size you want your stamp to have (I chose 640 x 640)
Now choose the Text tool. Pick the color you want to use.
I chose an orangey red (Hex color CD0000) (CD3700 is a good one too) but you can choose whatever
you want. (If you want a specific color or hue, Google a Hex chart and pick that color by number.)
Write your text in that color. Change the size of the font to the size you want. Now click on the brush tool, look for your grunge brushes and pick one of them. Cloick on the color and change it to white. Apply the grunge
brush to your text until you like the result.
Change the color back to the red you have chosen before or whatever color you picked at the beginning.
Then go to to Layers and make a new layer, name it border. Now, using the square selection tool, draw a box around your text, then go to Select and then Border, I choose 7, but you can choose whatever amount of pxs you like best. Then choose Edit then Fill with FG Color (which will be your chosen red or whatever color you have picked.) Then go to Select None.
Now, change the color to white again, click on brush and choose the same grunge brush you used at the beginning and apply it all around the border of your stamp. Go to Layers and Merge Down your layers. Then choose Save as (click to select another format than the one that is native to the Gimp, I chose PNG) naming your stamp whatever you like and that's it!
Here is the original tutorial where I learned most of this technique:
http://www.gimpusers.com/tutorials/create-a-simple-grunge-stamp Experiment!


