My Blog List

Softly Striped Green Paper in Gimp


Fire up Gimp. Go to New and select the size you want for your image. I will choose 640 x 480 for the sake of making the image
easy to load.
Now go to Filters, Render, Clouds, Difference Clouds. When the menu opens, leave the settings as they are and click OK.
Now go to Filters, Blur, Pixelate. Wait till it renders.
Now to Filters, Blur, Motion Blur. When the menu opens, choose an angle of 90 degrees and a length of 999. Click OK. Let it render.
You will begin to see stripes.
Go to Color, Colorize. When the menu opnes, move the Hue lever to 148. Click ok. Now you have a nice green.
Create a new layer. Choose the Rectangle, Select tool, then Select the picture, in the Select Tool menu, choose Feather edges, and set the feathering to 30.
Then go to Select, Invert. Choose Black as the Foreground Color and then go to Edit, Fill with FG Color (Black).
Create a new layer. Go to the Gradient Tool. Keep the Linear Gradient chosen. Choose Opacity 60.0, And set the Gradient FG to Transparent. Select Dithering. And now, draw the gradient
by pulling with the mouse from the top to the bottom of your paper.
Now to go Select, None. Then to Layers, Merge Down Layers.

Now you save it as a PNG, because it has the best quality, and you are set to use it however way you want it!
.............................

Determining the Will of God

How to Make Scrapbooking Papers in Gimp---Part 2


There are many, many filters and brushes for Gimp online. Most of them are free. You can Google to find them and install them in your computer.
They will allow you to make quite a bit of nice things with this software!


For another paper, click File New, and choose any size of paper you want. For the sake of expediency in photos, I will continue to choose 640 x 480.
Go to the Toolbox and click on the Foreground color, we will be choosing a lovely shade of pink, #EE3A8C. Now, click on the bucket fill tool and
fiull your paper with this pink color. Now go to Filters, Artistic, Clothify. When the menu opens, choose Blur X: 10, Blur Y: 10, leave the rest as is.
Click Ok. Now you have a textured paper! Save as a PNG file (to do this, choose Save As, then Select File Type by Extension and scroll down to PNG) and use as you want!


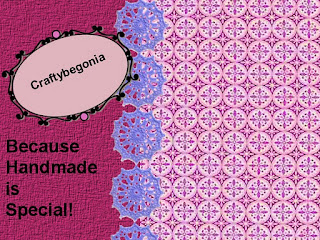
Here are some examples of scrapped pages that incorporate the paper made above into the design.


Your creativity is your only limitation! Enjoy!


.................
God Loves You!

How to Make Your Own Scrapbooking Papers in Gimp---Part 1


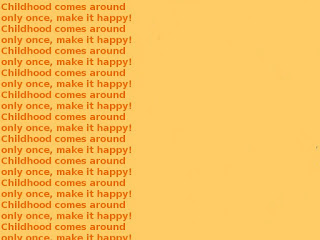
Fire up Gimp. Go to New and choose the size of paper you want. Because this is only a photo illustration,
I personally chose 640 x 480. Click ok.
Now go to the Toolbox and click Foreground color, choose #FFCC66, click ok. Select the Bucket Fill Tool, and fill the
paper.
Go to Layers, create a New Layer, make sure Transparency is selected.
Go to the Foreground color again and choose #FF6600. Select the Text Tool choose Sans Bold as a font (or any font you like best)
Click on the paper area and when the text dialog box opens, begin to write the following text: Childhood comes around only once, make it happy!
(I wanted to leave the rest of the paper free so I divided the text but you can write whatever you want and you can do as your taste indicates.)
Go to Layers, choose Merge Down Layer. Then Save the image as a PNG file with the name you want.

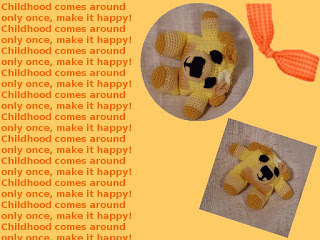
Here is an example of how I used this paper:


.............

God Loves You!