
Fire up Gimp. Go to New and choose the size of paper you want. Because this is only a photo illustration,
I personally chose 640 x 480. Click ok.
Now go to the Toolbox and click Foreground color, choose #FFCC66, click ok. Select the Bucket Fill Tool, and fill the
paper.
Go to Layers, create a New Layer, make sure Transparency is selected.
Go to the Foreground color again and choose #FF6600. Select the Text Tool choose Sans Bold as a font (or any font you like best)
Click on the paper area and when the text dialog box opens, begin to write the following text: Childhood comes around only once, make it happy!
(I wanted to leave the rest of the paper free so I divided the text but you can write whatever you want and you can do as your taste indicates.)
Go to Layers, choose Merge Down Layer. Then Save the image as a PNG file with the name you want.
Here is an example of how I used this paper:
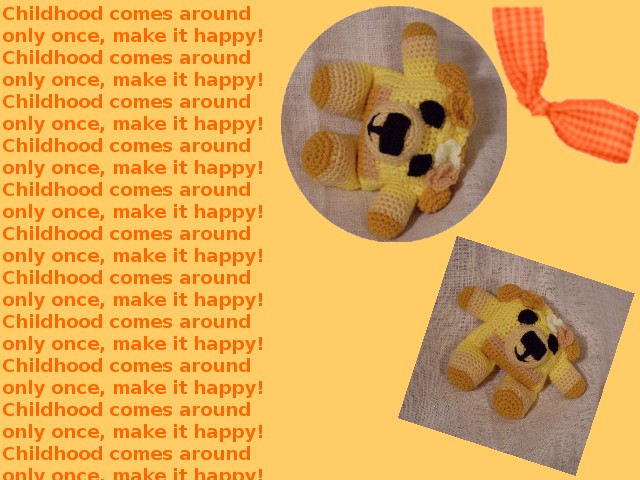
.............
God Loves You!
No comments:
Post a Comment